
Your paver patio, driveway, or walkway is a major investment in your home’s beauty and function. It is the stage for summer barbecues, the path you walk every day, and a key part of your curb appeal. But over time, the elements and everyday life threaten to dull its appearance.
You might notice ugly oil stains from your car, dark patches of mildew, or a fading of the rich colors you originally loved. The good news is you have a powerful tool to fight back. Sealing your pavers is that tool. It is a proactive step that preserves their beauty and strengthens their durability.
This guide will walk you through the entire process. You will learn not just how to apply sealer, but how to do it correctly for long-lasting, stunning results.
Why You Should Seriously Consider Sealing Your Pavers
Think of paver sealer as a high-performance shield. It does not just sit on the surface. It penetrates and protects. When you apply a quality sealer, you are actively defending your investment against a host of common problems.
You will prevent stains from setting in. A sealed surface resists oil, grease, and other liquid spills. This gives you precious time to clean up a mess before it becomes a permanent eyesore. You will also fight the growth of weeds and moss. Sealer fills the tiny pores and joints between pavers. This makes it much harder for unwanted seeds to take root. Your weeding chores will become a rare event instead of a constant battle.
Furthermore, you will combat the damaging effects of ultraviolet rays from the sun. UV exposure is a primary cause of color fading. A sealer with UV inhibitors will keep your pavers looking vibrant and new for years longer. Finally, you add a layer of protection against weathering. Sealers help prevent erosion of the sand in the joints and protect the pavers themselves from moisture penetration and the freeze-thaw cycle, which can cause cracking and shifting.
Gathering Your Arsenal: Everything You Need for the Job
Preparation is ninety percent of the success. Before you pour a single drop of sealer, you need the right tools and materials. Having everything on hand will make the project smooth and efficient.
Your Material Checklist:
- Paver Sealer: This is your main defense. You will choose between a water-based and solvent-based formula. You will also decide on the finish: enhancing (brings out color), wet-look (high-gloss), or natural (matte).
- Jointing Sand: You must have polymeric sand on hand to refill any joints that get washed out during cleaning.
- Paver Cleaner: A dedicated cleaner is best. Do not use bleach or acid-based cleaners unless specifically recommended for your paver type.
Your Tool Checklist:
- Surface Cleaner: A power washer or a stiff bristle broom for scrubbing.
- Garden Hose with Spray Nozzle
- Stiff Bristle Push Broom
- Paint Roller with Extension Pole and a roller cover designed for rough surfaces.
- Paint Tray
- Sprayer: A garden sprayer can be used for applying sealer to large areas quickly.
- Wet/Dry Vacuum
- Drop Cloths or Plastic Sheeting to protect surrounding areas from overspray.
- Safety Gear: Gloves and safety glasses are non-negotiable.
The Critical First Step: A Meticulous Deep Clean
You cannot seal dirt. Any grime, stain, or organic growth trapped under the sealer will be sealed in forever. This step is the foundation of a professional-looking finish.
Start by removing any existing stains. Treat oil or grease spots with a dedicated degreaser. For rust, use a rust remover. Follow the product instructions carefully and scrub the area with a stiff brush.
Next, apply your paver cleaner. Sweep it evenly across the entire surface. Use your push broom to scrub the cleaner in, working it into the joints and all over the paver faces. This will lift dirt and kill any organic matter.
Now, it is time to rinse. Use your power washer on a low-pressure, fan-tip setting. A high-pressure stream can damage the paver surface and blast the joint sand out. Hold the nozzle about a foot from the surface and rinse thoroughly. You need to remove all the cleaning residue.
The final part of cleaning is often overlooked but vital. You must let the pavers dry completely. This includes the surface of the pavers and the sand in the joints. Wait at least 24 to 48 hours after a good sunny day. Any moisture trapped underneath will be trapped by the sealer, leading to hazy white blotches called efflorescence or a failed bond.
Filling the Gaps: Restoring the Polymeric Sand Joints
During the cleaning process, some of the sand between your pavers will inevitably wash away. Before you seal, you must restore these joints.
Sweep a generous amount of new polymeric sand over the entire surface. Use your push broom to drag the sand back and forth, filling all the joints completely.
Once the joints are full, you need to compact the sand. Gently vibrate the pavers with a plate compactor. If you do not have one, you can carefully tap the pavers with a rubber mallet and a block of wood. This settles the sand deep into the joints.
The final step is to carefully remove all the excess sand from the paver surfaces. You must leave the tops of the pavers completely clean. Any leftover sand will get sealed onto the surface, creating a rough, gritty texture. A leaf blower works wonderfully for this final cleanup.
The Main Event: Applying the Sealer Correctly
Now for the rewarding part. The preparation is done. Your surface is clean, dry, and ready. Check the weather forecast. You need at least 24 hours of dry weather with temperatures between 50°F and 90°F.
First, protect everything you are not sealing. Use your drop cloths to cover any adjacent walls, plants, or lawn. Sealer overspray is sticky and difficult to remove.
Stir the sealer thoroughly. Do not shake it, as this can create bubbles. Pour some into your paint tray and some into your sprayer if you are using one.
Begin application in a small, inconspicuous area. This is your test spot. It lets you ensure you are happy with the look and the application method.
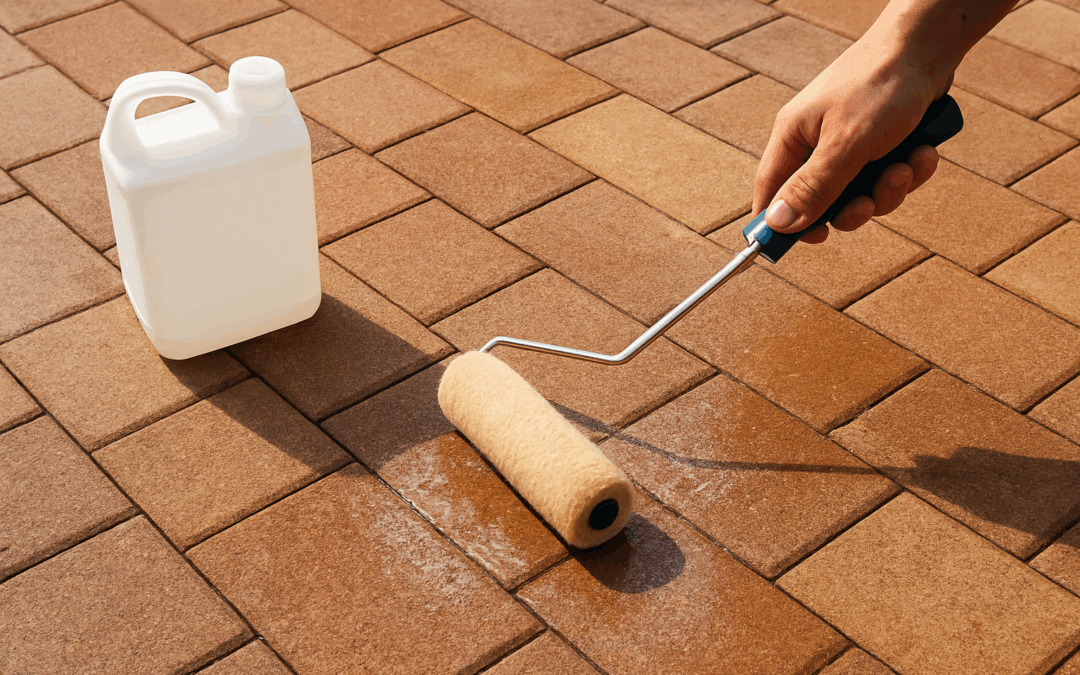
Work in small, manageable sections, about 10×10 feet. Spray or roll the sealer onto the pavers. Then, immediately back-roll with your roller and extension pole. Back-rolling is the secret to a professional, even coat. It smooths out any puddles or uneven spray patterns and pushes the sealer into the surface.
Maintain a wet edge. Do not let the sealer dry between sections. Always overlap your previous section slightly to ensure you do not miss any spots. You want one continuous, uniform application.
Apply a second coat if the manufacturer recommends it. Usually, a second thin coat is better than one thick, gloopy coat. Always follow the specific drying times on the product label between coats.
The Final Countdown: Curing and Aftercare
Your job is not quite done once the last coat is on. The sealer needs time to cure. This means it needs to fully harden and form its protective bond.
Keep everyone and everything off the sealed surface for at least 24 to 48 hours. This includes pets, kids, and patio furniture. Any disturbance during this critical period can ruin the finish.
After the initial cure, your pavers will be protected, but they are not invincible. For routine cleaning, simply sweep them regularly and occasionally rinse with a garden hose. For tougher stains, your new sealer will make cleanup as simple as using a mild detergent and a scrub brush. The stain will not have penetrated, so it will lift away easily.
Frequently Asked Questions
For most enhancing or wet-look sealers, you should plan to reseal every 2 to 3 years. The frequency depends on the amount of foot or vehicle traffic and your local weather conditions. Inspect your pavers yearly. When water no longer beads up on the surface, it is time to consider resealing.
No, you should not. New pavers, especially concrete ones, need time to fully cure. This process can release salts and gases. Sealing them too soon can trap these elements and cause hazing or prevent the sealer from bonding correctly. Wait at least 90 days before sealing new installations.
Water-based sealers are easier to clean up, have a milder odor, and are more environmentally friendly. Solvent-based sealers are often more durable and penetrate deeper, making them a good choice for high-traffic areas like driveways. However, they have a stronger odor and require more careful handling.
While a good sealer significantly reduces weed growth by locking the joint sand in place, it is not a 100% guarantee. Some determined weeds may still find a way. However, they will be much easier to pull out since their roots cannot grip the stabilized sand as effectively.
You must remove the efflorescence first. Sealing over it will trap the white salt deposits permanently. Use a dedicated efflorescence cleaner and scrub the area. Then, power wash thoroughly and let the pavers dry completely. Only then should you proceed with sealing.